Tutorial 3: Exporting images
Tutorial 3: Exporting images
Exporting Bitmap graphics
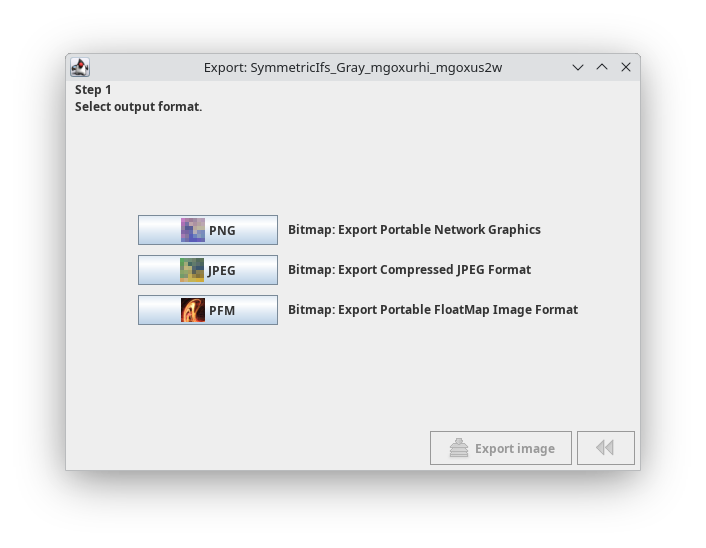
There is a wizard for exporting images. Different bitmap formats are supported: PNG, JPEG and PFM.
Click on the export button above the desired image.

The export wizard lets you choose between different image types. Use Portable Network Graphics format. It gives more accurate images. If you want to add an image to your social media channel JPEG is more appropriate because of its lossy compression.
Click on the PNG button.
For most types of images you can select the image size.
Click on the 512 x 512 button.
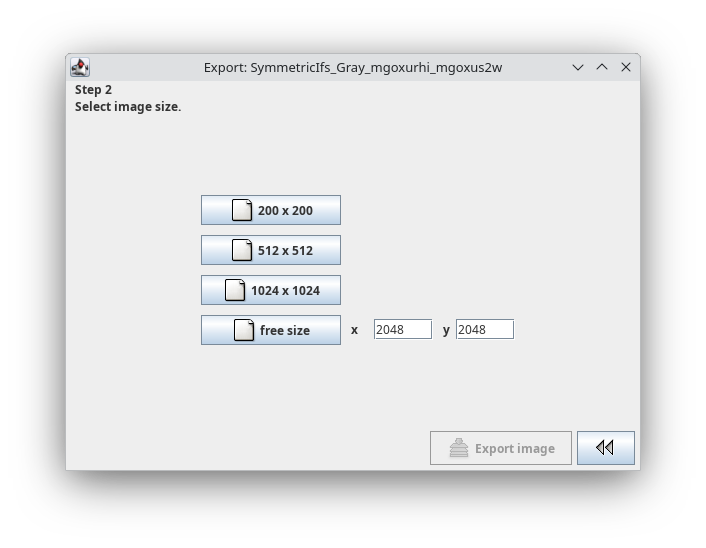
The file name is chosen automatically. In addition to the image file a matching chromosome file is stored in the same folder.
Click on the Export image button button.

Quality and Color Grading
PFM Portable FloatMap
Three float numbers are stored per pixel. This allows the results of the internal calculations to be saved with as little loss as possible. However, this means that color grading must be performed afterwards using image editing programs. This workflow is particularly useful when details in dark areas of the image need to be highlighted.
https://www.pauldebevec.com/Research/HDR/PFM/
Gimp can open PFM files.
ImageMagick can convert PFM to half float OpenExer files.
PNG
PNGs, from internal floating point calculations, are saved with 16 bit integers per color channel. But this not true in all cases: For example when the output of an external renderer has 8 bit color depth you get 8 bit PNGs or JPEG images.
JPEG
JPEGs are saved with “100%” quality.
High resolution
If you need a high resolution print export the image as PNG with big dimensions. I produced images up to 5000 x 5000 pixels. You must not exit the program before the image calculation is ready. Please have a look at the logbook. Every exported image is noted there.
Images are calculated in RAM in one sweep. For big images you must allow the Java VM to allocate more memory. You can do this with the -Xmx option for the Java VW in the kandid shell script.